
Use the exact OEM value before insertion
If the terminal identity or approved conductor/ferrule configuration is unknown, stop and obtain documented direction rather than stripping to fit.
Wire strip length is the insulation removed before insertion, and the correct value belongs to the exact terminal point and conductor preparation. It cannot be inferred from AWG, terminal width, connection style or a familiar shop setting. Use the current OEM value, measure a deenergized first-off sample and preserve the evidence.
Background: labeled control wires landed on terminal blocks inside switchgear. Photo: MTA Capital Construction Mega Projects / Wikimedia Commons, CC BY 2.0. Center-cropped and darkened in CSS. The scene does not identify a SENTOP product, conductor preparation, strip length, rating, certification or safe working state.
If the terminal identity or approved conductor/ferrule configuration is unknown, stop and obtain documented direction rather than stripping to fit.
Manufacturer, full catalog number, terminal designation, host equipment and installed accessories come before a number.
Material, size, stranding, insulation, conductor count, bare or ferruled preparation and connection method all matter.
Prepare a deenergized first-off end, measure the exposed conductor and inspect strands and residual insulation before repetitive work.
The labels often appear close together in a data sheet, but each answers a different question.
The prepared bare-conductor length measured from insulation shoulder to conductor tip before insertion.
Use the exact terminal/configuration value.How far the conductor or ferrule enters the connection point under the terminal's stated stop, actuator or indicator method.
Never probe the cavity to invent strip length.Conductor cross-section plus material and construction. One size can be accepted by terminals with very different strip lengths.
Gauge is not a stripping formula.Ferrule dimensions and conductor preparation belong to the approved ferrule/crimp system and terminal acceptance table.
Collar length is not strip length.Screw torque, lever/tool actuation or direct-insertion method applies after correct preparation and seating.
Extra torque cannot repair a bad end.A terminal is a designed interface, not simply an opening that grips copper. The published preparation positions bare conductor inside the intended clamping/contact region while keeping residual insulation where the housing geometry expects it.
If the end is too short, the conductor may not occupy the intended contact region or insulation may enter the wrong zone. If it is too long, unintended bare conductor can remain outside the designed entry and insulation geometry. A wire may appear fully inserted and still have been stripped incorrectly before insertion.
Length alone is not enough. Reject damaged preparation: cut or missing strands, fanned or folded strands, unacceptable nicks, torn residual insulation, corrosion, contamination or an unapproved special treatment. Do not twist, tin, ultrasonically weld, add a ferrule or combine conductors unless the exact terminal documentation and released process permit it.
For the related but separate sizing decision, use the AWG wire sizing guide; for the screw mechanism, keep terminal torque specifications in their own controlled field.

These diagrams communicate the mechanism only. The terminal's current document defines the real geometry, value and acceptance criteria.
Insulation can enter where bare conductor is expected, or copper may not reach the intended seating condition. Remake the end under the approved process; do not compensate with force or torque.
The measured value/range/tolerance, conductor condition and approved bare or ferruled configuration agree before insertion. Finished seating is then checked separately.
Exposed copper can remain beyond the designed entry or affect touch/spacing conditions. Rework only within the authorized deenergized process and OEM criteria.
Retrieve the current document for the exact SKU before work. Do not transfer a value across brands, series, sizes, terminal points or conductor/ferrule configurations.
| Exact manufacturer example | Connection / application | Published strip length | Boundary |
|---|---|---|---|
| WAGO 260-420 | CAGE CLAMP terminal strip | 8–9 mm | Exact cited product only. |
| WAGO 2202-1812 | Push-in CAGE CLAMP fuse terminal | 10–12 mm | Exact cited product/conductor data only. |
| Phoenix Contact UT 2,5 / 3044076 | Screw feed-through terminal | 9 mm | Not a generic value for screw terminals. |
| Phoenix Contact UT 35 / 3044225 | Larger screw feed-through terminal | 18 mm | Shows variation inside one connection family. |
| Phoenix Contact XT 1,5 / 1641108 | Push-X feed-through terminal | 10–12 mm | Use exact conductor/ferrule entries. |
| Phoenix Contact PTI 2,5-N / 3213952 | Push-in installation terminal | 8–10 mm | Bare and ferruled ranges remain separate checks. |
| Weidmüller A2T 1.5 / 2469370000 | PUSH IN terminal | 8 mm | Product page separately lists ferrule tube lengths. |
| Rockwell POINTMax RTBs | One-wire bare-copper configuration | Recommended 10 ± 0.4 mm | Ferruled rows direct users to ferrule-maker preparation data. |
The WAGO, Phoenix Contact, Weidmüller and Rockwell values are manufacturer examples. They are not SENTOP product specifications, inter-brand equivalents or permission to configure a stripping tool without the exact current instructions.
A connection family helps identify the right data set. It never replaces the exact catalog number, terminal point and conductor table.
Locate exact strip length, solid/stranded/flexible range, conductor count, ferrule allowance and model-specific torque.
Check direct-insertion conditions, actuator use, strip range, conductor class and the terminal's separate ferrule table.
Use the host-equipment manual and terminal-point diagram. One module can publish different values for different points.
Pitch, connector geometry and board-level construction make a DIN-rail terminal's preparation value irrelevant.
Confirm whether a cable lug is required and whose preparation instructions govern the lug-to-conductor interface.

Strip length is the exposed conductor dimension measured before the end enters the terminal. Insertion depth describes the conductor or ferrule's travel into the connection point. They are related controls, not synonyms.
Follow the exact OEM insertion method—an identified stop, backstop, trigger, actuator or visual indicator—where one is specified. Do not probe the cavity and turn its apparent depth into a stripping-tool setting. A wire that looks fully seated does not prove that its pre-insertion strip length was correct.
Connection quality also depends on the terminal's normal-current conditions and insulation system. Keep current rating versus actual load and creepage and clearance as separate engineering checks; overlong exposed copper does not create permission to reinterpret either rating.
A ferrule can improve strand containment and process repeatability only when the exact terminal and released panel process accept it. It is not a universal repair for flexible wire, an improvised way to make an end fit, or permission to place two conductors under a one-conductor clamp.
The terminal's preparation value for the stated bare conductor configuration.
The copper preparation needed for that ferrule and crimp process. It can differ from the terminal's bare-wire value.
Tube/barrel length, collar form, single or twin arrangement, conductor count and crimped profile accepted by the exact terminal.
Use the dedicated guide on when ferrules are required before releasing a single, twin, bare or insulated-sleeve configuration.

IEC 60947-7-1:2025 covers terminal blocks in its scope for copper conductors. The product examples on this page are copper-conductor examples unless an exact document expressly states otherwise.
Contact paste does not convert an ordinary copper-only terminal into an aluminum-rated terminal.
Verify model, material, conductor form, size, temperature, application and listing/certification conditions.
Follow the exact oxide-removal, compound, insertion, environmental, current-reduction and rework method—never a generic recipe.
Solid versus stranded, Ex/hazardous-location restrictions and U.S. conductor-identification requirements can change the decision.
A transparent housing, inspection window or backstop can help confirm that the conductor follows the product's intended insertion method. It cannot recreate the pre-insertion dimension, prove that no strand was cut or establish that a ferrule/conductor combination is approved.
A robust quality plan separates three gates: measured preparation before insertion, conductor condition before termination, and finished connection against the OEM's seating/actuation and insulation-position criteria. Passing one gate does not erase a failure at another.
When the terminal is unknown, first interpret the terminal markings and match the complete part number to the official data. Physical fit is only an observation.
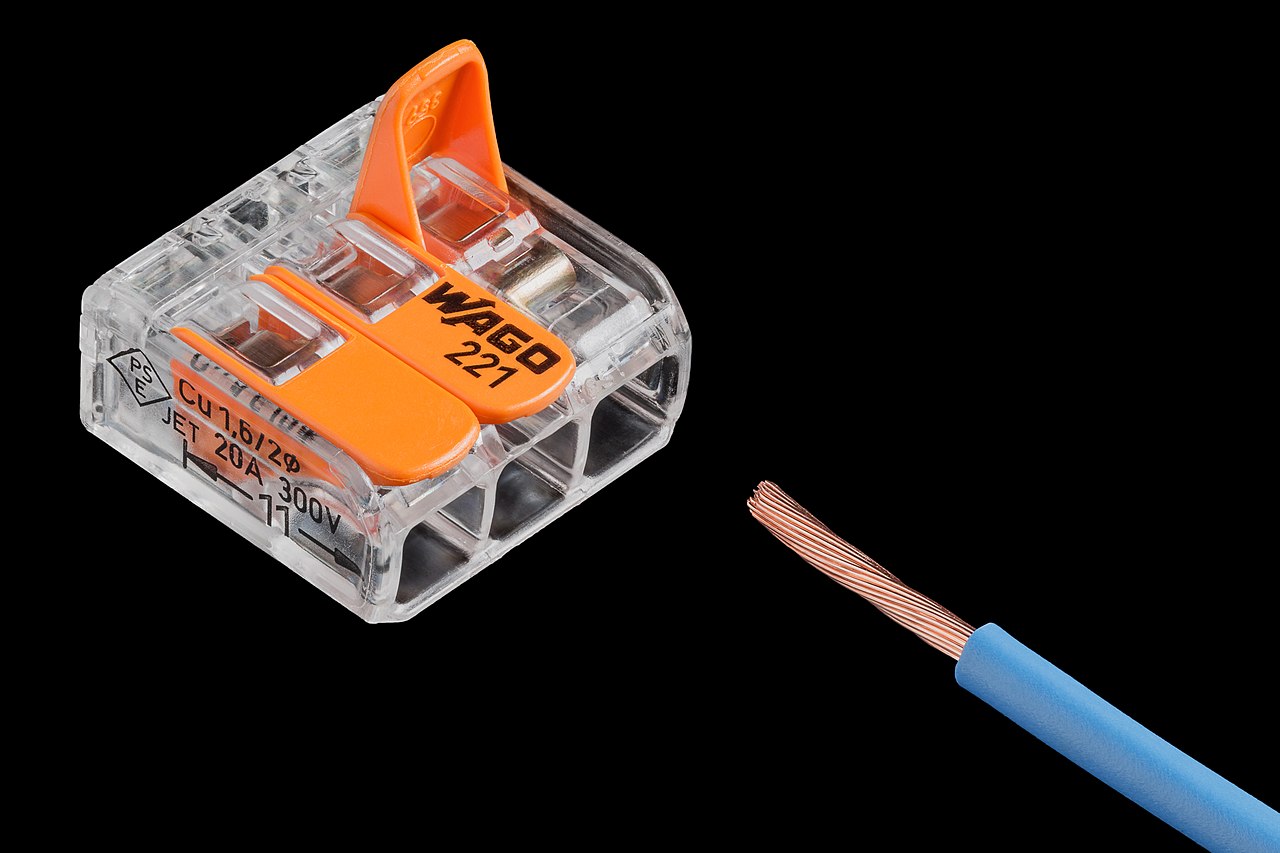
The stripping-tool setting is a setup input, not automatic proof of output. Use the actual approved material and a measurement method capable of resolving the stated range or tolerance.
Name manufacturer, complete part number, terminal designation, host equipment and installed accessories.
Record: terminal ID + BOM/drawing reference.Use the exact data sheet, installation instruction or host-equipment wiring table and capture revision/date/page.
Record: document locator.Material, AWG/mm², solid/stranded/flexible construction, insulation, count and approved ferrule configuration must match.
Record: complete conductor definition.Copy the OEM format exactly for the actual bare or ferruled configuration; do not collapse a range into a habit.
Record: units + configuration + source field.Match stripping/crimping tool, blade/die, program and stop to the released work instruction and actual wire.
Record: tool ID + controlled setting.Measure exposed conductor before insertion with equipment whose resolution fits the published requirement.
Record: result + operator/inspector + date.Confirm intact strands/insulation, approved ferrule/crimp and the terminal's specified insertion/actuation condition.
Record: acceptance or disposition.Recheck after a terminal, wire, ferrule, blade, tool, program or work-instruction change.
Record: revision and change trigger.
Treat the tool setting as an input, not proof. With the actual approved wire, prepare a deenergized first-off sample; measure exposed conductor using equipment whose resolution fits the published value/range/tolerance; then inspect conductor and residual insulation.
A coarse ruler is not automatically adequate for a tight tolerance such as ±0.4 mm. Conversely, a precise measurement does not rescue cut strands, damaged insulation, contamination, an unapproved ferrule or the wrong conductor class.
IEC and manufacturer pull-out/flexion tests use defined samples, forces, durations and sequences. A casual tug cannot prove strip length, seating geometry, electrical performance or certification. If the exact OEM instruction or released inspection plan requires a retention check, perform only that documented check under the authorized deenergized process.
The record should let engineering, production, quality and maintenance reconstruct exactly what was prepared and why it was accepted.
Exact terminal and point, host equipment, data-sheet/manual revision, page or connection-data field.
Cu/approved Al case, AWG/mm², solid/stranded/flexible class, insulation type/OD and conductor count.
Single/twin, covered/bare ferrule, barrel/collar, crimp profile, approved terminal range and allowed count.
Measured result in OEM range/tolerance; strands intact and contained; residual insulation clean and undamaged.
Specified stop/trigger/indicator condition, no trapped insulation or loose strands, no unintended exposed copper, correct torque where relevant.
Tool/setting, measurement method, operator/inspector, result, nonconformance action and change-control trigger.
Product evaluation, installation rules and workplace safety answer different questions. The terminal's current markings/instructions and application evidence remain central.
Component certification does not approve the wire, ferrule, finished equipment or field procedure by itself.
IEC 60947-7-1:2025 covers industrial screw-type and screwless terminal blocks in its scope for copper conductors; IEC 60999-1 provides clamping-unit safety context. Neither is a strip-length chart.
UL 1059 evaluates terminal blocks. End-product suitability still depends on actual service conditions and, for a Recognized Component, applicable Conditions of Acceptability. UL 486F ferrule evaluation does not make every pairing acceptable.
Use the locally adopted NEC and exact equipment marking/instructions. OSHA 1910.333 governs the workplace deenergization, lockout/tagout and qualified-person verification boundary where applicable.
A neat-looking termination can still be dimensionally or configurationally wrong.
| Observation | Why it is not acceptable evidence | Controlled response |
|---|---|---|
| “All 2.5 mm² terminals use 10 mm.” | Nominal cross-section does not define internal geometry, connection method or ferrule allowance. | Use the exact SKU and terminal-point data. |
| Copied length from an installed wire | Previous work may be wrong, from another revision or intended for the neighboring point. | Retrieve the current source and measure a new first-off. |
| Family catalog used as final proof | One family can include different functions, sizes and terminal points. | Resolve the full part number and exact connection table. |
| Ferrule collar used as strip length | Terminal bare-wire value, ferrule-maker preparation and accepted tube/collar geometry are different fields. | Match all three data sets and the released crimp process. |
| Passed a casual visual/tug check | Neither reconstructs pre-insertion length or proves the approved configuration. | Use measured preparation and only the documented retention/inspection method. |
| Extra torque or force added | Torque/actuation cannot repair a short, long, damaged or unapproved end. | Stop, disposition the nonconformance and correct the tool/document cause. |
A terminal that repeatedly loosens, overheats or fails inspection needs diagnosis, not repeated rework. Use the authorized service process and exact OEM criteria.
Unknown data, damaged preparation or an unapproved configuration is a reason to escalate—not to estimate.
Family resemblance, cavity depth and neighboring terminals cannot establish the value.
Resolve catalog, manual, drawing and approved work-instruction differences before release.
The actual copper, aluminum or conductor construction is not in the applicable data.
Do not accept a value outside the published range/tolerance because it appears seated.
Correct length does not rescue cut strands, fanning, contamination or torn insulation.
Physical fit is not evidence for conductor count, collar/barrel or crimped geometry.
Change tooling or measurement capability rather than widening the OEM requirement.
Escalate PE, Ex, intrinsic-safety, fuse/disconnect, safety, PCB, high-current or listed-assembly cases.
Ask the supplier to identify the exact source field and every exception. Do not ask a terminal vendor to approve an unspecified panel or energized work method.
Manufacturer, complete part number, terminal point/designation, host equipment, lifecycle or replacement status.
Official data sheet/manual URL, document number, revision/date, region and exact page or connection-data field.
Material, AWG/mm², solid/stranded/flexible class, insulation type/OD/temp and conductors per connection.
Published value, range or tolerance, units, bare/ferruled configuration and insertion/actuation criterion.
Single/twin, covered/bare, part/standard, tube/barrel and collar, crimp profile, tool/die and allowed conductor count.
For aluminum: exact AL/AL-CU identification, conductor form, oxide/compound method, temperature/derating and Ex limits.
Approved stripping/crimp/torque tools, settings, first-off measurement resolution, sample plan and rework/scrap rule.
PE/Ex/high-current/safety/listed-equipment boundary; IEC/UL/CSA evidence, UL file/category and applicable Conditions of Acceptability.
This article controls preparation length. These pages own product families, assembly context, special applications and evidence quality.
Review product types and configuration options without treating a family page as the strip-length source.
Explore terminal block model families →End plates, jumpers, markers and other parts can change the installed BOM and application record.
Review terminal block accessories →Coordinate terminal, conductor, documentation and production-control needs at the assembly level.
See support for panel builders →Separate small-wire stripping practice from lugged, large-conductor and high-current connection systems.
Review high-current terminal blocks →Keep exact model, scope, Conditions of Acceptability and end-product requirements aligned.
Avoid terminal block certification errors →Use the authorized deenergized diagnostic and repair process when an installed connection is loose.
Review controlled terminal retermination →The visible answers below exactly match the FAQPage data embedded after the article.
No. Official examples differ even within one manufacturer and one connection family. Use 10 mm only for the exact configuration whose current OEM data specifies it.
No. AWG or mm² describes conductor size; terminal geometry and the approved preparation define strip length.
No. Strip length is measured before insertion; insertion depth is the finished conductor's travel into the terminal. Follow both OEM controls without deriving one from the other.
A short end may not occupy the intended contact region or insulation may enter the wrong zone. A long end can leave unintended bare conductor outside the designed entry geometry. Treat either condition as nonconforming and remake it under the approved process; do not compensate with extra torque or force.
It can. Check the terminal's bare-wire data, the ferrule maker's conductor-preparation instruction and the terminal's allowed ferrule tube and collar dimensions. Do not assume one number covers all three.
No. Aluminum requires an explicitly identified terminal and exact written material and preparation instructions. Contact paste alone does not establish suitability.
No. A visual check can reveal an obvious issue, but it cannot reconstruct the pre-insertion measurement or prove the approved conductor and ferrule configuration.
No general tug proves strip length or compliance. Use only a retention check expressly required by the OEM or released inspection plan.
Record the terminal and point, source revision, wire material, size and stranding, ferrule details, published length, range or tolerance, tool setting, measured first-off result, inspection result and disposition of any nonconformance.
This guide does not authorize it. Follow the applicable electrical-safety program; for U.S. general industry, OSHA 1910.333 governs deenergization, lockout/tagout, verification and qualified-person requirements.
Standards and product data are controlled sources. This article paraphrases public boundaries and does not reproduce copyrighted requirements or replace the active instructions.
Share the full terminal part number and point, OEM document revision, conductor material/size/construction, bare or ferruled configuration, published range/tolerance, tool and first-off result, panel environment, quantity and destination.
Popup Maker 6432 opens when available; the contact page remains the no-JavaScript fallback. SENTOP can review product-document availability and proposed configurations, but it does not replace the responsible electrical design, approval or authorized work procedure.
