

Yes, a bad circuit breaker can cause low voltage at home. Low voltage means your devices do not get enough power. You may see lights getting dim or appliances slowing down. Low voltage can hurt electronics and cause safety problems. Knowing why this happens helps keep your home safe. It also helps your devices work the right way.
Key Takeaways
- A broken circuit breaker can stop electricity with rust or loose parts.
- This can also happen if there is too much resistance.
- Low voltage can make lights blink and appliances work slowly.
- It can also hurt your electronics or even start a fire.
- Look for signs like blinking lights, burning smells, or weird device actions.
- These signs can help you find breaker problems early.
- Check your circuit breakers and wires often to stay safe.
- This helps your home and devices work well.
- If you see warning signs or feel unsure, call an electrician.
- They can fix problems before they get worse.
Low Voltage Basics
What Is Low Voltage
Low voltage means your home’s power is lower than normal. Voltage is like the force that pushes electricity through wires. We use volts (V) to measure it. In homes, voltage is the difference in electric energy between two spots. This difference lets things like lights and TVs work.
Most homes in North America use 120 volts for small things. Big things, like ovens, need 240 volts. In Europe, most homes use 230 volts for everything. Here is a table showing the usual voltages in homes:
| Region | Nominal Household Voltages | Typical Usage in Household Systems |
|---|---|---|
| North America | 120 V and 240 V | 120 V for lights and small appliances; 240 V for large appliances |
| Europe | 230 V | 230 V for most household loads |
Low voltage happens when the power drops below these numbers. Bad wiring, too many things plugged in, or a broken circuit breaker can cause this. You might see lights get dim or things run slow.
Tip: Low voltage is not just a number. It can also mean flickering, dips, or power cuts. These problems can make your devices act strange.
Why Low Voltage Matters
Low voltage can hurt your home and things you use. If voltage drops, your electronics may not work right. They might break or stop working over time. For example, fridges or fans can get too hot if they do not get enough voltage.
Low voltage can also mean bigger problems in your wires. Loose wires, rust, or a bad circuit breaker can cause low voltage. If you ignore these signs, you could have a fire or break your stuff.
- Low voltage can cause:
- Lights to flicker or get dim
- Appliances to slow down or stop working
- Devices to get too hot
- Electronics to wear out faster
Watching your voltage helps keep your home safe. It also helps your things last longer. If you know why low voltage happens, you can fix problems early.
Circuit Breaker Role
KC3-H-4-pole-circuit-breaker.webp)
How Breakers Work
Circuit breakers help control electricity in your house. When you use a light or plug in something, power goes through wires and the circuit breaker. The circuit breaker acts like a guard. It lets power move if things are safe. If there is a problem, it stops the power to protect you.
Different circuit breakers work in different ways. Some use magnets to open when too much power flows. Others use springs to snap open or closed fast. Some have sensors that watch for trouble and react quickly.
Here is a table showing the main parts of a circuit breaker and what they do:
| Component/Mechanism | Function/Role in Voltage Regulation |
|---|---|
| Operating Mechanism | Opens or closes the breaker fast |
| Contacts | Start or stop the flow of power |
| Arc Extinguisher | Puts out sparks when contacts open |
| Trip Unit | Finds problems and opens the breaker |
All these parts work together to keep voltage steady. A good circuit breaker stops voltage drops and keeps your things safe.
Importance in Home Safety
Circuit breakers help keep your home safe from electrical dangers. They look for problems like too much power or bad wires. If they find a problem, they turn off the power right away. This helps stop fires and keeps your electronics safe.
- Circuit breakers can help stop:
- Fires from wires getting too hot
- Damage to things from power spikes
- Shocks in wet places with special breakers
- Fires from hidden wire problems with special breakers
Note: Newer circuit breakers can handle more devices and keep your home safer. Some smart breakers let you check your power any time.
Check your circuit breakers often. Old or broken ones can be dangerous, especially with big devices. Keeping them in good shape protects your family and home from harm.
Bad Circuit Breaker Causes Low Voltage
A bad circuit breaker can make your home have low voltage. This happens for a few reasons. Inside the breaker, things can go wrong. Problems like rust, loose parts, and extra resistance can happen. These problems block electricity. When this happens, voltage drops. If you use more devices, the problem gets worse.
Internal Corrosion
Rust can build up inside a circuit breaker over time. You cannot see it, but it causes trouble. Rusty or dirty metal parts do not touch well. This makes resistance go up. High resistance blocks electricity. Less voltage gets to your lights and appliances.
Rusty parts can also get hot. Too much heat can break the breaker. You might smell burning or feel heat near the panel. These are warning signs. If you ignore them, the breaker could stop working or start a fire.
Tip: If you smell burning near your breaker, turn off power and call an expert.
Loose Connections
Loose parts are another reason for low voltage. If screws or terminals are not tight, electricity cannot flow well. This weak path is like a traffic jam. Resistance goes up, and voltage drops.
You may see dim lights or slow appliances. Sometimes, voltage drops to 90 volts on a 120-volt line. This can happen even if the breaker seems fine alone. Loose parts can get worse from heat or shaking wires.
- Loose parts raise resistance in the circuit.
- More resistance means less voltage for your devices.
- The problem gets worse when you use more power.
- Over time, loose parts can cause heat and fires.
Studies show loose parts cause voltage drops and safety risks. Special sensors can find hot spots early. Always check for loose wires if you see low voltage.
Voltage Drop Under Load
A bad circuit breaker is worse when you use lots of power. This is called “under load.” Plugging in many things makes the breaker work harder. If it is old or broken, it cannot handle it. Resistance goes up, and voltage drops more.
You may see flickering lights or strange device actions. Turning on big things, like a hair dryer, can make this worse. Sometimes, voltage drops by 30% or more. Experts say voltage drop should be under 3%. Bigger drops mean your breaker or wires are bad.
- Old or overloaded breakers cannot keep voltage steady.
- Bad breakers cause dim lights, buzzing, or tripping.
- High resistance makes things hot and work poorly.
A bad circuit breaker does more than dim lights. It can break your electronics and put your home in danger. Watch for these signs and fix problems fast.
Signs of a Bad Circuit Breaker
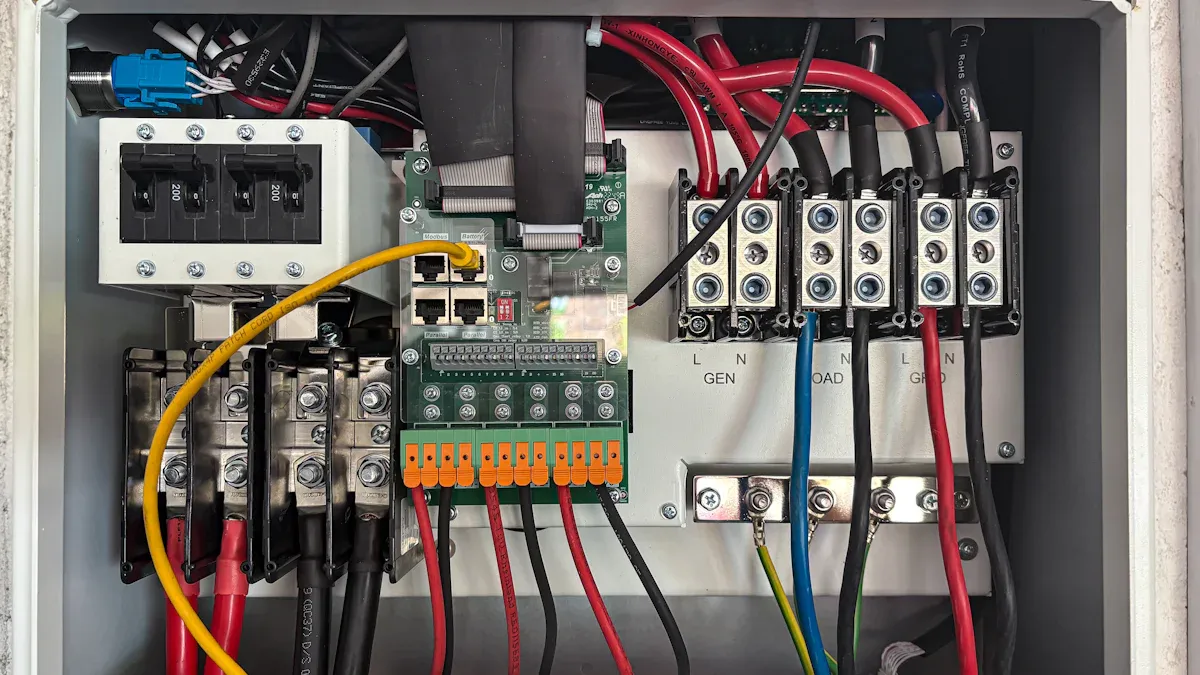
Flickering Lights
You might notice your lights flicker or dim without warning. This can happen for many reasons, but it often points to trouble with your electrical system. When a circuit breaker trips or struggles to handle the load, you may see lights flicker, especially when you turn on large appliances.
- Circuit breakers tripping can cause flickering lights.
- If you see flickering across several rooms, you may have a bigger problem, like an outdated panel or main service line issue.
- Scorch marks or burning near your light fixtures or breaker panel are serious warning signs.
If your lights flicker and the breaker trips or feels hot, you should call a professional. Flickering lights can signal a bad circuit breaker or other electrical faults that need quick attention.
Hot or Burnt Smell
A hot or burnt smell near your breaker panel is a clear warning. You should never ignore this sign. Overheating wires or a malfunctioning breaker can cause this odor. Sometimes, you may also see scorch marks or even melted plastic.
- Burning smells near breakers or outlets show overheating or device failure.
- Scorch marks or burn damage on breakers mean electrical failure.
- A breaker that feels hot to the touch is not working right.
If you notice a burning smell or see any damage, turn off the power and call an electrician right away. These signs can mean a fire risk from a bad circuit breaker.
Device Malfunction
When your devices act strange, you may have a problem with your circuit breaker. Devices might shut off, run slowly, or not work at all. This happens because a bad circuit breaker cannot deliver steady power.
Reports from safety agencies show that electrical malfunctions, including overloaded circuits and faulty breakers, cause thousands of home fires each year. Many service calls involve tripped breakers or devices that stop working. Experts say you should always check why a breaker trips or a device fails, not just reset the breaker. Ignoring these signs can put your home at risk.
If your appliances keep malfunctioning or your breaker trips often, you should investigate the cause. A bad circuit breaker can lead to bigger problems if you do not act quickly.
What to Do Next
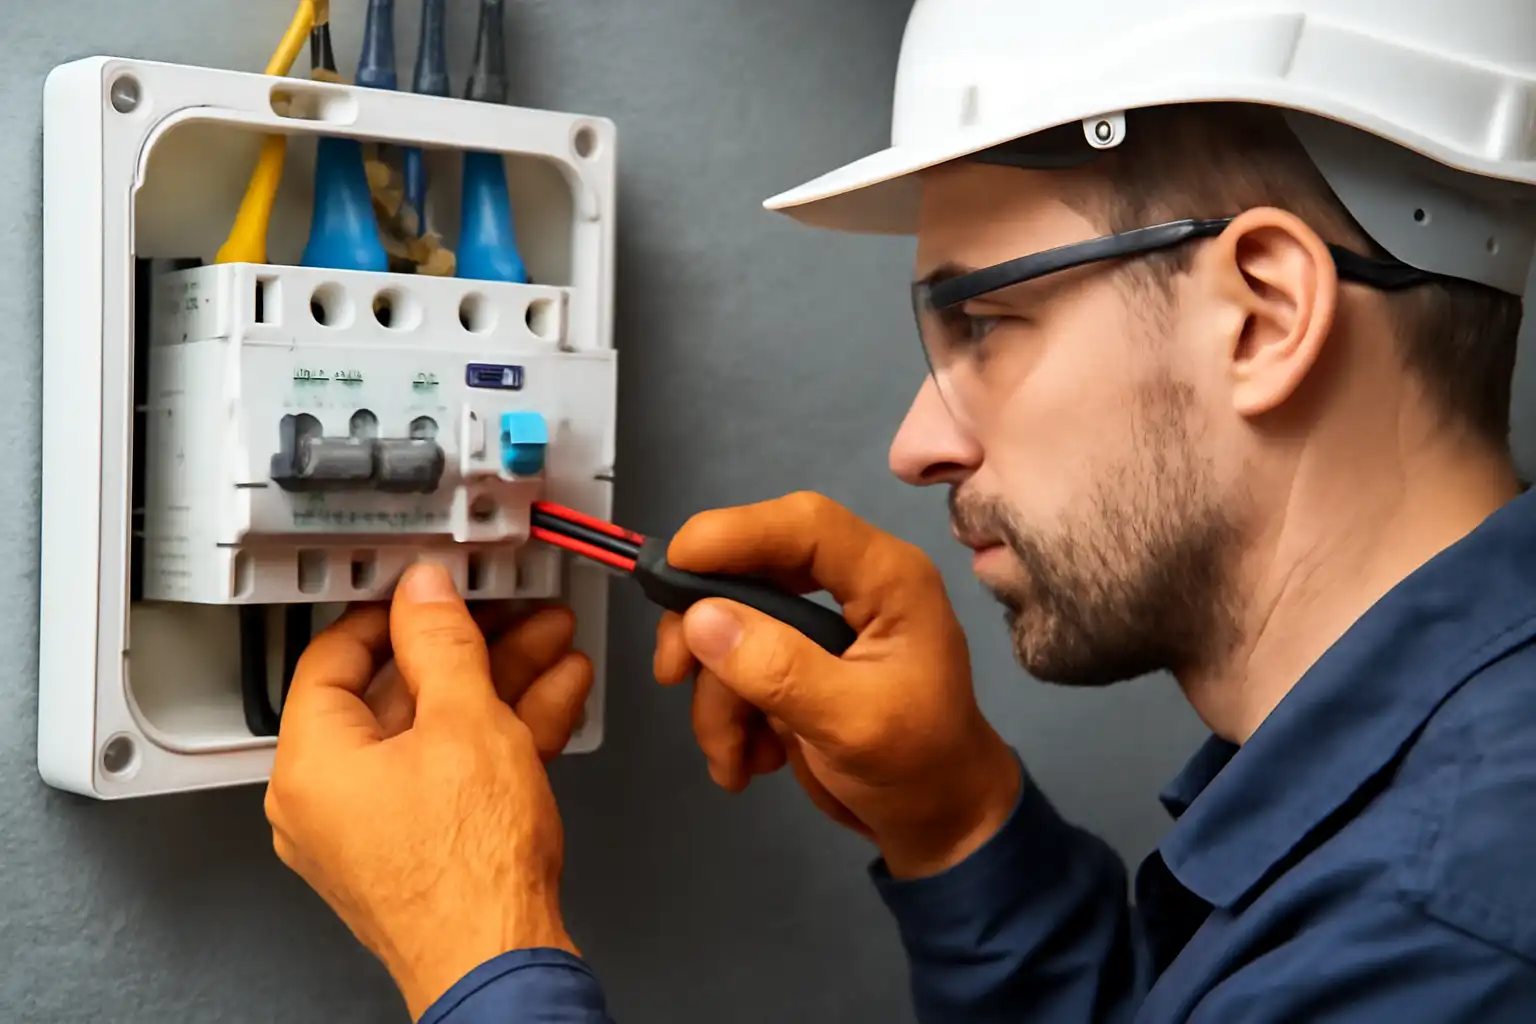
Troubleshooting Steps
If you notice low voltage in your home, you need to find out why. Low voltage can damage your devices and create safety risks. You can follow these steps to check for problems:
- Look for Symptoms
Watch for flickering lights, buzzing sounds, or devices that shut off. These signs often mean you have a voltage problem. - Put Safety First
Always turn off the power at the breaker before you check anything. Wear shoes with rubber soles and use insulated tools to protect yourself. - Test Outlets with a Multimeter
Use a multimeter set to AC voltage. Test several outlets in your home. Normal readings should be between 110 and 120 volts. If you see lower numbers, you may have a problem. - Check for Overloaded Circuits
Unplug some devices and test the voltage again. If the voltage goes back to normal, you may have too many things on one circuit. Move some devices to other outlets to balance the load. - Inspect Wiring and the Panel
Look for frayed wires, burn marks, or loose breakers. These can cause voltage drops and may lead to fires. - Check the Main Breaker
Measure the voltage at the main breaker. If you see rust or burn marks, your breaker may be bad. - Consider Outside Issues
Sometimes, the problem comes from outside your home. If you suspect this, contact your utility company.
Tip: Regular checks and maintenance help you catch problems early and keep your home safe.
When to Call a Pro
You should call a licensed electrician if you see any of these warning signs:
- Voltage stays low after you unplug devices.
- Breakers trip often or feel hot.
- You find damaged wires or burn marks.
- You do not feel safe checking the panel yourself.
Electricians have special tools and training. They can find hidden problems and fix them safely. If you act quickly, you protect your home and your family from bigger risks.
Never ignore signs of low voltage. Fast action keeps your home safe and your devices working right.
Now you know a bad circuit breaker can cause low voltage.
Corrosion, loose parts, and high resistance lower voltage.
These problems can make your home unsafe.
Act fast because electrical dangers can cause fires or burns.
- Bad breakers, broken wires, or damaged covers are dangerous.
- Fixing problems quickly keeps you and your home safe.
Always fix electrical problems as soon as you see them.
If you are not sure what to do, call an expert.
Staying safe is the most important thing.
FAQ
Why does a bad circuit breaker cause low voltage instead of just shutting off power?
A broken breaker makes it hard for power to pass.
This extra resistance slows down the electricity.
Some power gets through, but not enough for your stuff.
That is why you see low voltage, not a full shut-off.
Why should you replace a circuit breaker if you notice low voltage?
Replace a bad breaker to protect your electronics.
Low voltage can hurt motors and computer chips.
Waiting too long can cause fires or bigger problems.
Fixing it fast keeps your home and family safe.
Why do lights flicker when a circuit breaker goes bad?
A bad breaker cannot keep power steady.
Lights flicker because voltage goes up and down quickly.
Loose or rusty parts inside the breaker cause this problem.
Why is it dangerous to ignore low voltage problems?
If you ignore low voltage, wires can get too hot.
Your appliances might break or even catch fire.
Fixing problems right away keeps everyone safe.
The following information may be of interest to you
Why Your Circuit Breaker Trips on Hot Summer Days
What Causes Circuit Breaker Overheating and How to Prevent It
What Is the Maximum Number of Sockets on a 20A Circuit Breaker
Can a circuit breaker cause lights to flicker

Discover more from SENTOP Electrical Co., Ltd
Subscribe to get the latest posts sent to your email.
