

Connecting solar panels to a 12V battery and inverter needs careful steps. This ensures the system works well and stays safe. Follow the right steps to avoid harm and get more energy. A good system lowers electricity bills and cuts carbon pollution. This is helpful in summer when gas plants work less efficiently. Proper connections also keep energy prices steady by using solar power when demand is high. By learning how to do it right, you can create a dependable and green energy source for your home.
Key Takeaways
-
Pick solar panels that work well to get more energy. Choose ones with high wattage and good efficiency.
-
Use a charge controller to stop your battery from overcharging. This helps your battery last longer and stay safe.
-
Get the right inverter for your setup. It changes DC power from the battery into AC power for your home.
-
Clean and check your solar panels often. Removing dirt and dust helps them make more energy and last longer.
-
Check your battery’s condition regularly. Don’t let it drain too much or get too hot or cold.
Components Needed
To build a solar power system, you need key parts. Each part helps the system work well and last long.
Solar panels
Solar panels are the main part of your system. They use photovoltaic cells to turn sunlight into electricity. The size and type of panels decide how much power they make. For instance, a 250W panel makes less power than a 450W model like the Huasun Solar Himalaya G12. Here’s a table comparing different solar panels:
|
Solar Panel Model |
Power (W) |
Efficiency (%) |
|---|---|---|
|
Trina 250W poly panel |
250 |
N/A |
|
300W mono panels |
300 |
N/A |
|
315W half-cut 120 mono cell |
315 |
N/A |
|
360W LG Neon R (IBC) |
360 |
20.8 |
|
440W solar panels |
440 |
22.5 |
|
Huasun Solar Himalaya G12 |
450 |
23.0 |
|
Longi Solar Hi-Mo 6 Scientist |
455 |
23.3 |
12V batteries
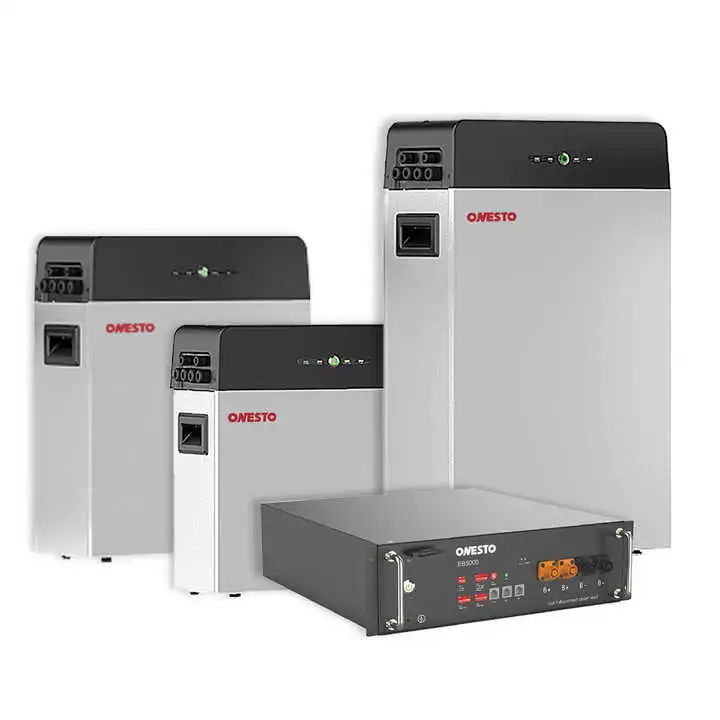
Batteries save the energy made by your solar panels for later. A 12V battery works well for small systems. Different batteries have different features:
|
|
Lead-acid battery |
Gel battery |
AGM battery |
Lithium battery |
|---|---|---|---|---|
|
Maintenance |
Needs care |
No care |
No care |
No care |
|
Depth of discharge |
50% |
75% |
50% |
80% |
|
Lifespan |
3-5 years |
6-8 years |
6-8 years |
20 years |
|
Cost |
$150 |
$300 |
$250 |
$2000 |
|
Energy density |
30W.h/kg |
40W.h/kg |
50W.h/kg |
50-260W.h/kg |
Lithium batteries last longer and store more energy. But they cost more than lead-acid or AGM batteries. Pick a battery based on your budget and energy needs.
Charge controller
A charge controller manages electricity flow from solar panels to batteries. It stops overcharging and keeps batteries working well. MPPT (Maximum Power Point Tracking) controllers are very efficient, reaching up to 99.9%. These controllers adjust to sunlight changes to get the most power.
Tip: Use a 12V charge controller for small systems. It’s affordable and works well for homes.
Without a charge controller, batteries can wear out fast. Always include one in your solar setup.
Inverter
An inverter is very important in a solar system. It changes the direct current (DC) from solar panels into alternating current (AC) for home use. Picking the right inverter helps save energy and ensures it works well.
Different inverters have various efficiency levels. These show how well they work in different situations. Here’s a simple table of common efficiency types:
|
Efficiency Type |
What It Means |
Usual Range |
|---|---|---|
|
CEC Efficiency |
Works well in standard test settings |
95% – 98% |
|
EU Efficiency |
Measures real-world performance |
94% – 97% |
|
Peak Efficiency |
Best performance in perfect conditions |
97% – 99% |
|
Weighted Efficiency |
Average performance in many conditions |
93% – 96% |
When choosing an inverter, check its efficiency and if it fits your system. High-efficiency inverters, like those with 97% or more, give the most energy. Pick one made for 12V systems to match your battery and solar panels.
Tip: Keep the inverter in a cool, dry place. This stops it from overheating and makes it last longer.
Wiring and connectors
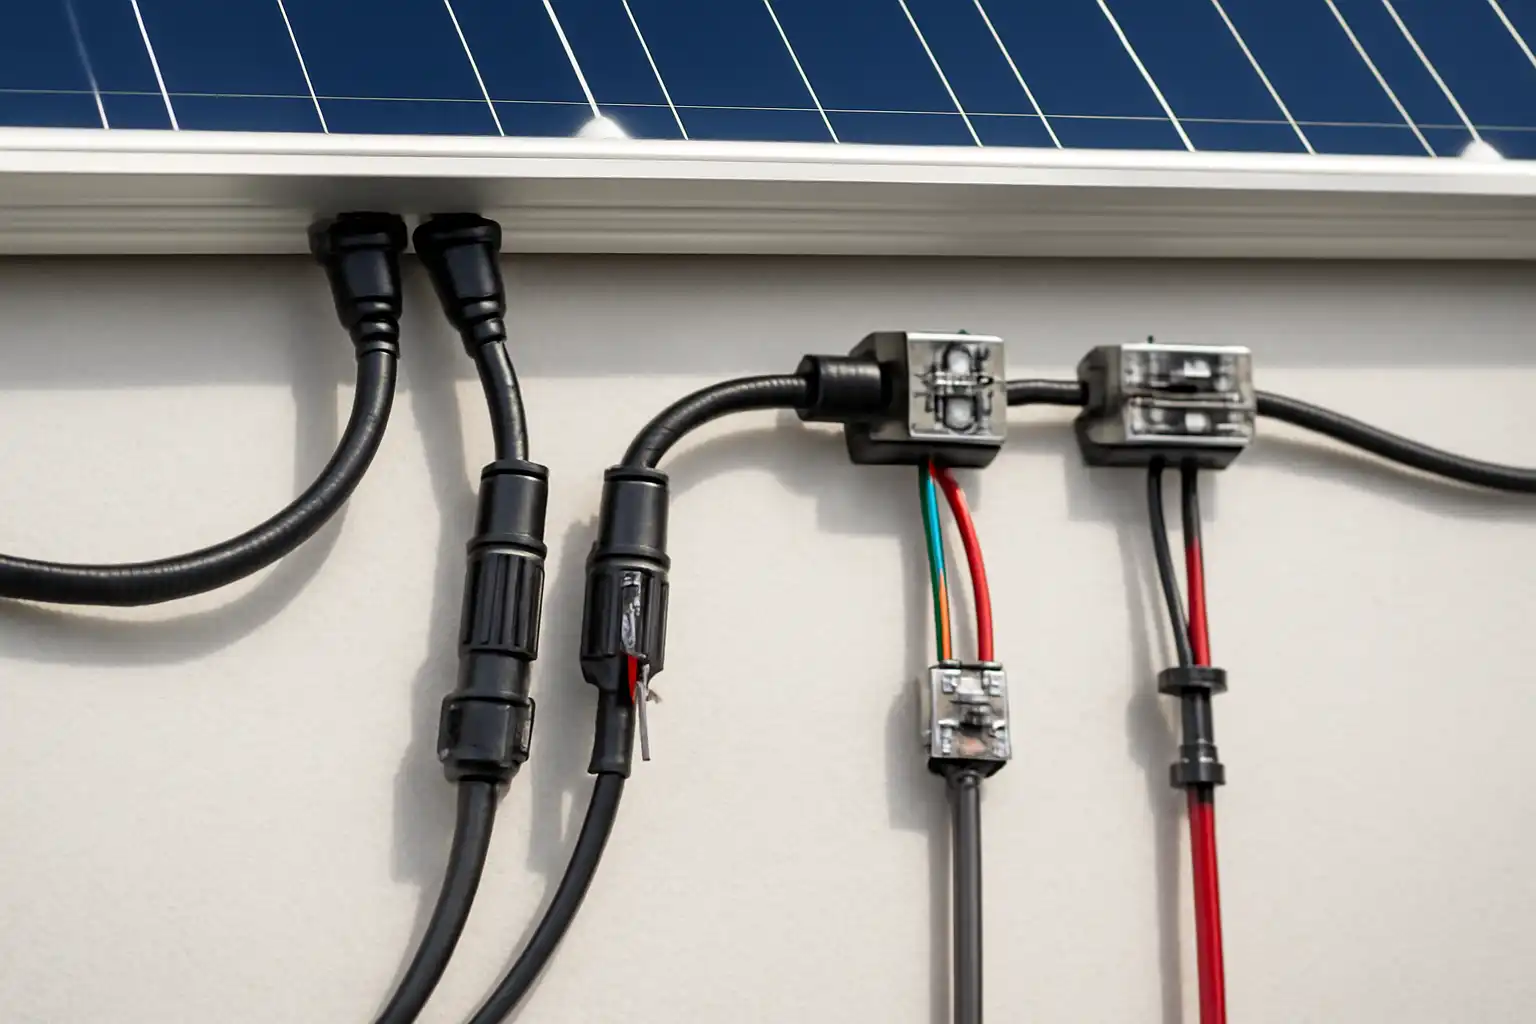
Good wiring and connectors are key for a safe solar setup. They help move energy smoothly and avoid electrical problems.
Here are some simple tips for wiring and connectors:
-
Connectors: Use MC4 and Amphenol connectors for strong and safe connections.
-
Wire Sizing: Pick wire sizes based on your system’s voltage and current. Check the National Electrical Code (NEC) or local rules for advice.
-
Wire Types: Use wires made for outdoor solar setups. They should handle weather and sunlight. Copper wires are strong and work well.
Note: Always check your wires and connectors for damage. Replace broken parts quickly to keep your system safe.
By following these steps, your solar system will work better and last longer.
How to Connect Solar Panels to a 12V Battery and Inverter
Mount the Solar Panels
Setting up solar panels starts with mounting them correctly. This keeps them stable, safe, and working well. Follow these simple steps to mount your solar panels:
-
Get Permits: Check local rules and get permits before starting.
-
Prepare the Area: Clear the space of any obstacles or trash. Find the best spot for sunlight.
-
Install Rails: Use rails to hold the panels firmly. Make sure they are straight and spaced properly.
-
Position Panels: Point the panels south (Northern Hemisphere) or north (Southern Hemisphere). Tilt them based on your location for better sunlight.
-
Secure Panels: Attach panels tightly with weatherproof hardware to avoid damage.
-
Connect Wires: Use strong, insulated wires to link the panels. This prevents electrical problems.
Tip: Check the structure and wires often for damage. This keeps the system safe and efficient.
Connect Solar Panels to the Charge Controller
Once the panels are mounted, connect them to the charge controller. The controller stops the battery from overcharging. Follow these steps:
-
Find Positive and Negative Cables: Look for the (+) and (-) cables on the panel.
-
Use MC4 Connectors: If your panel has MC4 connectors, attach them to the charge controller. For one panel, connect cables directly.
-
Match Polarity: Connect the positive cable to the positive terminal and the negative cable to the negative terminal.
-
Tighten Connections: Make sure all wires are tight to avoid energy loss or danger.
Note: Always read the instructions for your charge controller. This ensures it works properly with your system.
Wire the Charge Controller to the Battery
The last step is linking the charge controller to the battery. This stores the energy made by the panels. Follow these steps:
-
Pick the Right Wire: Use stranded copper wire for better flexibility and power flow. Ensure it suits your 12V system.
-
Connect Positive Terminal: Link the positive terminal of the controller to the battery’s positive terminal.
-
Connect Negative Terminal: Do the same for the negative terminals of the controller and battery.
-
Check Connections: Ensure all wires are tight and clean. Loose or rusty wires can cause problems.
|
Evidence Type |
Description |
|---|---|
|
Shows the best way to connect controllers and batteries. |
|
|
Efficiency Data |
Highlights how proper connections improve performance and safety. |
Tip: Ground your system to stay safe and protect it from power surges.
By following these steps, you can connect solar panels to a 12V battery and inverter. This setup helps store and use energy efficiently at home.
Connect the battery to the inverter
Linking the battery to the inverter is very important. This step lets the stored energy turn into electricity for your home. Follow these easy steps to connect them safely:
-
Pick the Right Inverter
Choose a 12v inverter that matches your battery’s voltage and size. Make sure it works with your solar system and can power your devices. -
Find the Battery Terminals
Look for the positive (+) and negative (-) terminals on the battery. These are usually labeled to avoid mistakes. -
Get the Wires Ready
Use strong cables made for DC power. The wires should be thick enough to handle the current safely. -
Attach the Positive Cable
Connect the positive wire from the inverter to the battery’s positive terminal. Tighten it well to stop energy loss. -
Attach the Negative Cable
Link the negative wire from the inverter to the battery’s negative terminal. Check the polarity to avoid damage. -
Check All Connections
Make sure all wires are tight and clean. Damaged or loose wires can cause problems and waste energy.
Tip: Place the inverter close to the battery. This reduces energy loss through the wires.
When connecting, think about how the inverter performs:
-
At low power, efficiency drops to 88% at 676W output.
-
The inverter uses 60W of power even when idle.
-
Efficiency improves with moderate power loads.
Knowing this helps you get the best performance from your system.
Test the system
Testing ensures all parts of your solar setup work well together. Follow these steps to test it:
-
Turn On the Inverter
Switch on the inverter and check its lights or display. These should show it’s working and getting power from the battery. -
Measure Voltage
Use a multimeter to check the voltage at the battery and inverter. The readings should match a 12v system. -
Test an Appliance
Plug in a small device like a lamp or fan. Make sure it works and gets steady power. -
Watch Efficiency
See how the inverter performs with different devices. Note how efficiency changes with various power needs. -
Look for Problems
Check for overheating, strange sounds, or error messages. Fix any issues quickly to avoid damage.
Note: Regular testing helps find problems early and keeps the system reliable.
Testing proves the value of a 12v inverter system. It shows how your solar panels, battery, and inverter work together to give steady power. By testing, you can enjoy reliable energy and avoid risks.
Safety Precautions
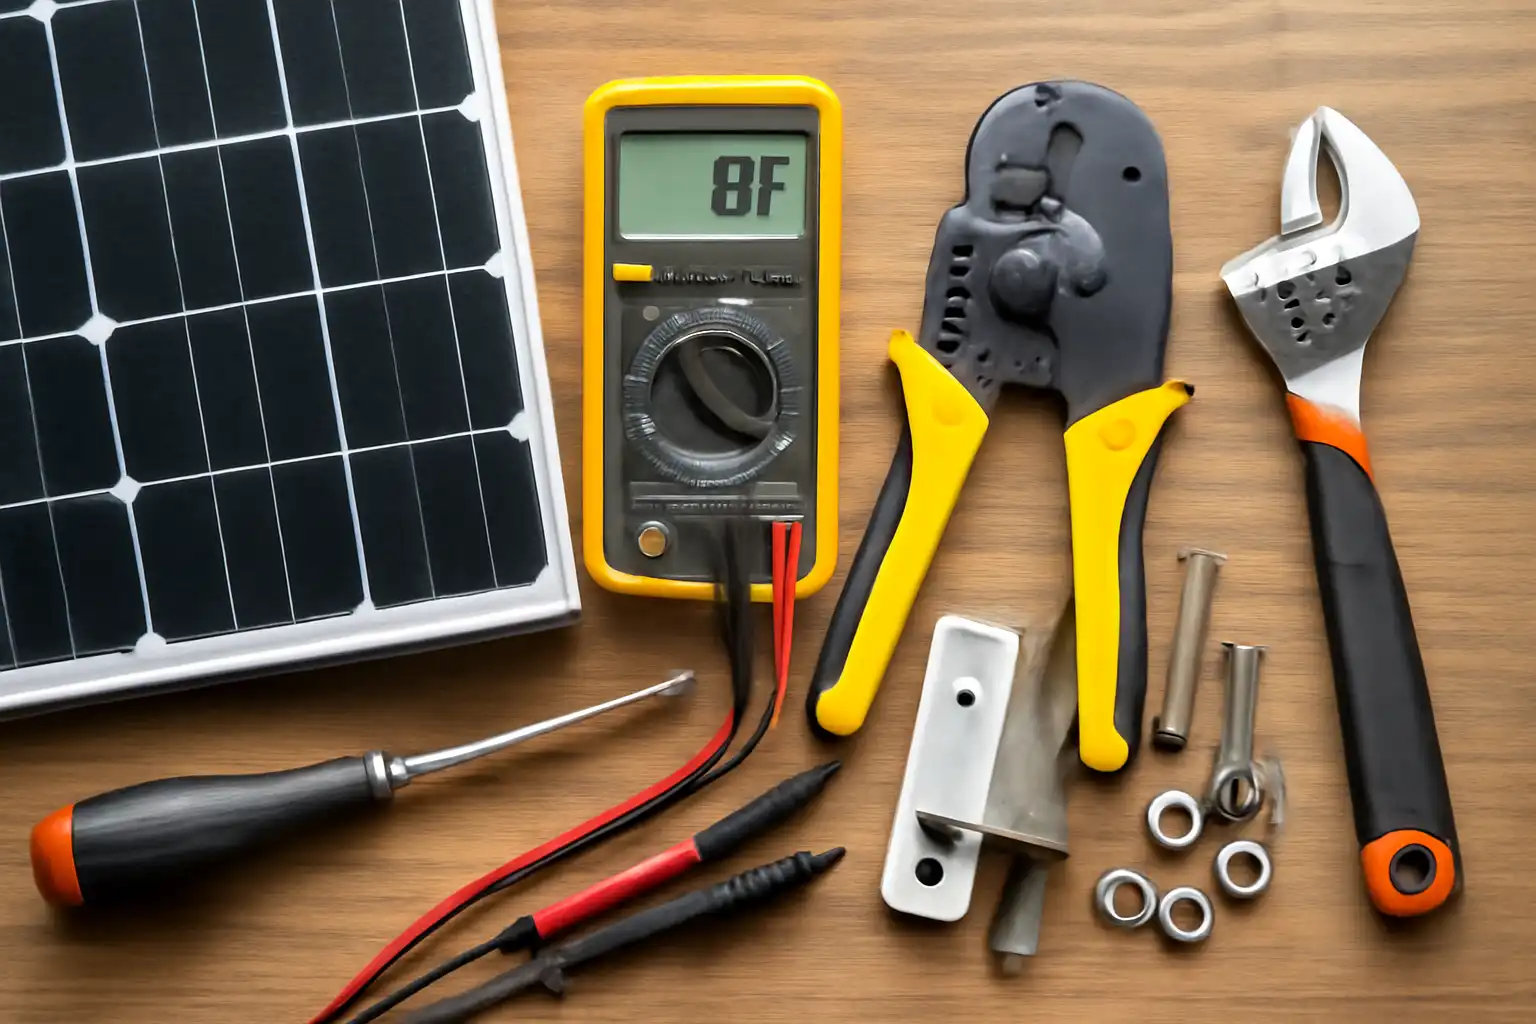
Use insulated wiring and proper tools
Insulated wiring and tools are key for safe solar setups. They stop electrical shocks when working with live parts. Check tools for cracks or exposed wires before using them. Replace damaged tools right away to avoid accidents. Make sure tools follow OSHA and NFPA 70E safety rules.
Choose outdoor cables that resist weather and sunlight. Copper wires work best because they last long and carry electricity well. Always test wires and tools to ensure their insulation is safe.
Important Tip: Damaged tools or wires can cause accidents. Replace them quickly.
Avoid overloading the system
Overloading can harm your solar system and lower its efficiency. It may overheat or damage the inverter and batteries. To stop this, calculate the power needs of your devices. Keep the total demand within your system’s capacity.
Spread energy evenly by using load balancing. Autoscaling features can adjust energy use based on demand. Test your system often to find limits and avoid overloads. If overheating or poor performance occurs, reduce the load immediately.
Important Tip: Watch your system often to catch overloads early. This keeps it safe.
Ensure proper grounding
Grounding protects your solar system from surges and lightning strikes. Use a separate grounding wire instead of relying on the conduit. Secure all connectors to prevent weak spots in the grounding path.
For lightning safety, use thick grounding wires like #6 solid wire. Compression splices are stronger than wire nuts in storm-prone areas. Check the grounding system regularly to ensure it works well.
Important Tip: Grounding keeps your system safe and protects people nearby.
Follow manufacturer instructions
Always follow the instructions from the manufacturer. These instructions explain how to set up, use, and care for each part of your solar system. Ignoring them can cause accidents or damage to your equipment.
Start by reading the manuals for your solar panels, batteries, charge controller, and inverter. These guides include step-by-step directions made for their products. Pay attention to wiring diagrams and tools they suggest. This helps you avoid mistakes when installing.
Manufacturers also list safety tips to protect you and your system. For example, they may tell you to use insulated wires or ground your system. These steps lower the chance of shocks or damage. Always follow these tips to keep your system safe.
Real-life examples show why following instructions matters. One company in the US faced injuries and lawsuits for skipping safety rules. Another lost money and got fined by OSHA for ignoring safety steps. These cases prove that not following instructions can be costly.
When fixing or upgrading your system, check the manufacturer’s guide. This makes sure all parts work well together and stay safe. If you’re unsure, ask the manufacturer or a professional for help. Their advice can stop problems and keep your system working.
By following these instructions, you make your solar system safer and better. You also avoid risks and save money. Think of these guides as your plan for success.
Tips for Optimizing Performance
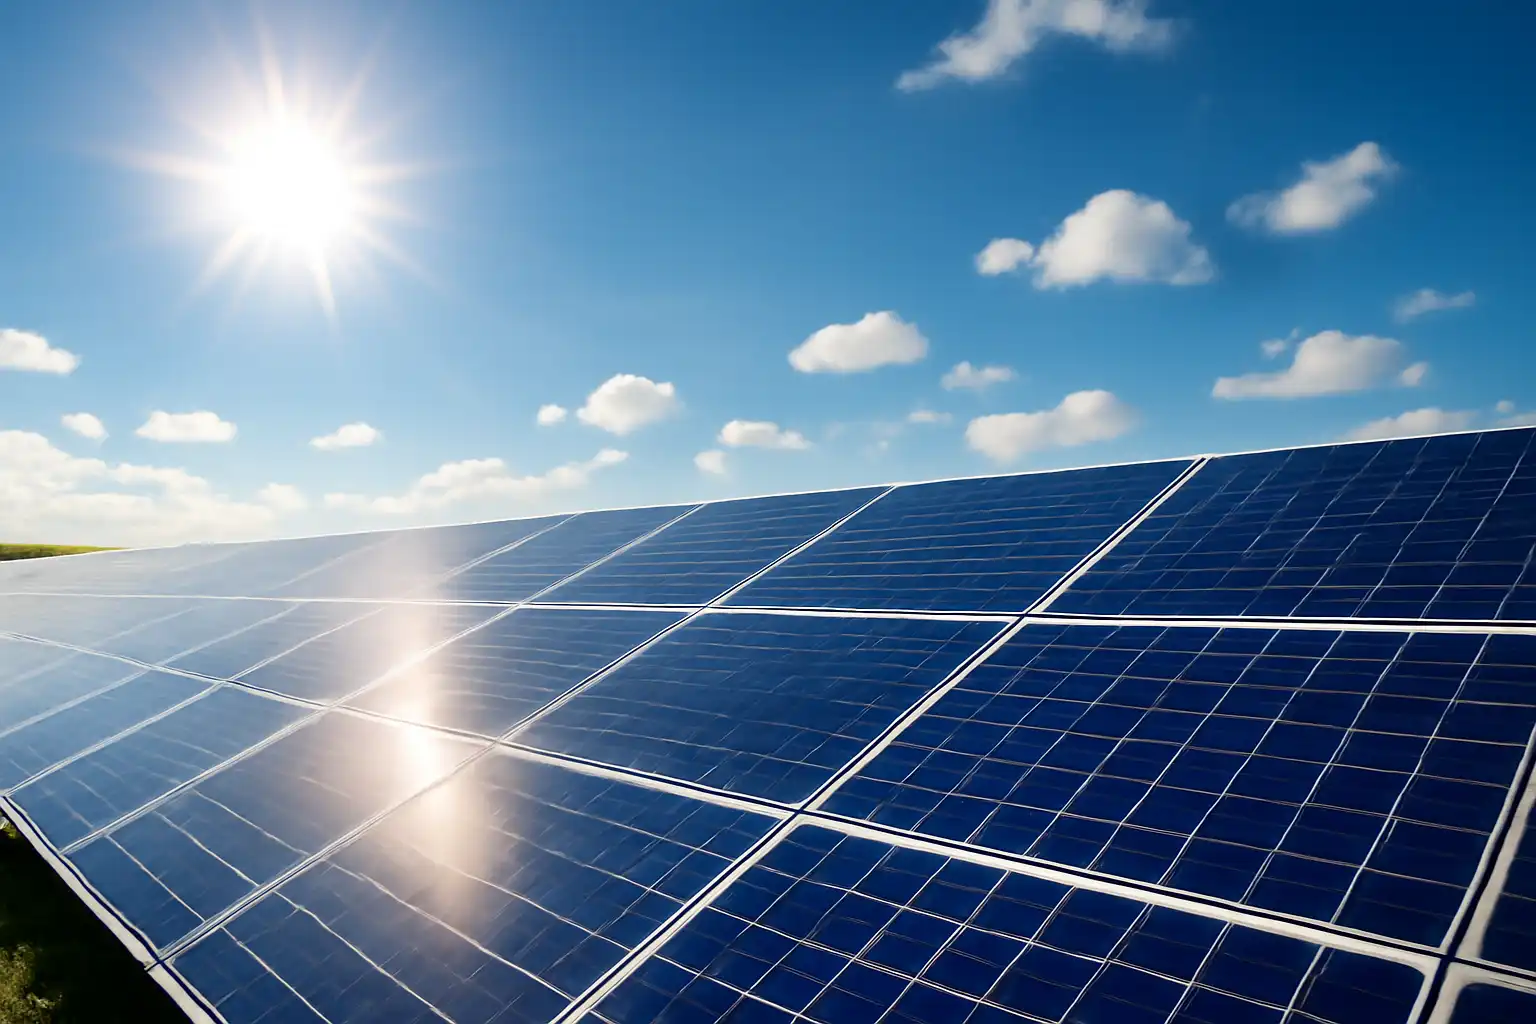
Place solar panels for best sunlight
To get more energy, place panels in sunny spots. Make sure they face south if you’re in North America. Tilt them at 30 to 45 degrees for better results. This setup can boost energy by up to 30%.
Keep panels away from trees or buildings that make shadows. Even small shadows can lower energy output. If you can, use a solar tracker. It moves panels to follow the sun and makes more energy.
Solar panels work in different weather. In foggy areas, they still work at 50% efficiency with diffused light. In snowy places, sunlight can pass through thin snow. Snow’s reflection can also help make more energy.
Clean and check solar panels often
Clean panels to keep them working well. Dirt and dust block sunlight and lower energy. Use a soft brush or clean water to wash them. Don’t use strong chemicals that might harm the panels.
Taking care of panels makes them last longer. A clean system can work five years more and save $5,000 to $7,500. Smart tools like IoT sensors can tell you when cleaning is needed. This stops energy loss and keeps your system running well.
Tip: Check panels often for cracks or loose wires. Fix small problems early to avoid big repairs later.
Watch battery health
Check your battery often to keep it working well. Look at the state of charge (SoC) to avoid overcharging or draining it too much. A charge controller can help manage this.
Don’t let the battery drain too low. For example, lithium batteries can go to 80% DoD, but lead-acid ones should stay above 50%.
Temperature matters too. Extreme heat or cold can harm the battery. Keep it in a place with steady temperatures. Test the battery’s capacity often to see if it’s wearing out.
|
Metric |
Description |
|---|---|
|
State of Charge (SoC) |
Shows how much charge the battery has left. |
|
Depth of Discharge (DoD) |
Tells how much energy has been used from the battery. |
|
Charge Cycles |
Counts how many times the battery has been fully charged and used. |
|
Temperature |
Tracks heat or cold, which can affect battery life. |
Tip: Use a battery monitor to track these details and improve performance.
Use energy-efficient appliances
Using energy-saving appliances can make your solar system better. These devices use less power, helping you get more from your solar panels. Choosing the right ones cuts energy waste and saves money over time.
Energy Star appliances are great for saving energy. They meet strict rules from the U.S. Environmental Protection Agency. These appliances do the same jobs as regular ones but need less electricity.
-
Switching to Energy Star appliances lowers energy use a lot. This makes your solar system work smarter.
-
They also cut electricity bills, which is great for solar-powered homes.
For example, an Energy Star fridge uses 15% less power than a regular one. Energy Star washing machines save 25% on energy and 33% on water. These savings grow when you depend on solar energy.
When buying appliances, look for the Energy Star label. This shows the product is made to save energy. Check the energy guide label too for details on power use.
Tip: Run appliances during the day when solar panels make the most energy. This protects your battery and boosts efficiency.
Switching to energy-saving appliances improves your solar system. It saves money and helps the environment at the same time.
Connecting solar panels to a 12V battery and inverter needs simple steps. First, set up the panels. Then, link them to a charge controller. Next, connect the controller to the battery. Finally, attach the battery to the inverter. Testing makes sure everything works well together. Each part helps the system run better, from collecting sunlight to turning it into usable power.
Safety and care are important for a good solar system. Use safe wires, don’t overload, and ground the system correctly. Clean the panels often and check the battery to make them last longer.
Using solar energy cuts down on fossil fuels and helps the planet. By following these steps, you can build a clean and efficient energy system for your home.
|
Component |
How It Helps |
|---|---|
|
Solar panel efficiency |
Better with advanced technology |
|
Improved by capturing more sunlight |
|
|
Environmental impact |
Less use of non-renewable energy |
|
Voltage increase |
Boosts energy storage and usage |
|
Inverter integration |
Makes energy conversion easier |
Tip: Begin with a small 12V system. Add more as your energy needs grow. Solar power is a great way to help the environment.
FAQ
What size solar panel is needed for a 12V battery?
A solar panel must make 15-20 volts to charge a 12V battery. A 100W panel is good for small setups. Check your battery’s size and energy needs to pick the right panel.
Can solar panels connect straight to a battery?
No, solar panels should not connect directly to a battery. Always use a charge controller. It controls voltage and stops overcharging, which can harm the battery.
How do you figure out the wire size for a solar system?
To find wire size, think about current (amps) and distance. Use this formula:Voltage Drop (%) = (Current × Distance × Resistance) ÷ Voltage.
Check a wire gauge chart for the correct size.
How often should solar panels be cleaned?
Clean solar panels every three to six months. Dirt, dust, and bird droppings block sunlight and lower power. Use water and a soft brush to clean them.
Can a 12V solar system grow later?
Yes, you can make your system bigger. Add more panels, batteries, or a larger inverter as needed. Make sure all parts work well together before upgrading.
The following information may be of interest to you
How to choose to install a solar inverter
How to Replace a Surge Protector Safely and Efficiently
How three-phase solar inverters work in conjunction with batteries

